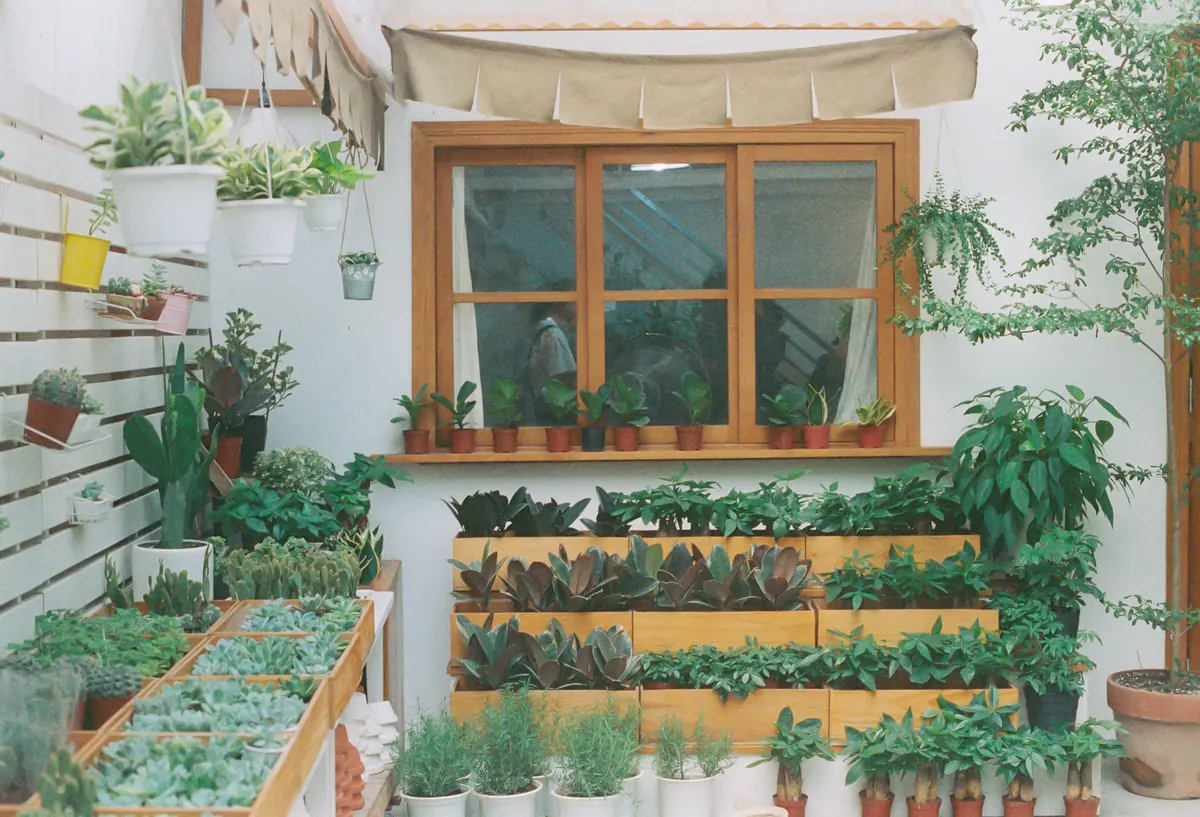
There is a particular satisfaction in snipping parsley into a pot of soup while snow sits on the far side of the glass. A windowsill herb box is the smallest garden worth keeping, and for much of the year it pays rent in flavour. The catch is that a windowsill is an odd climate: bright one hour, chilled the next, dry as a desert by February. Get a few decisions right at the start and the box will keep producing from early spring through the grey weeks.
Indoor conditions suit some herbs and quietly kill others. Woody Mediterranean herbs want sun and dry air. Soft-leaved herbs want steady moisture and moderate light. The two most people try first — basil and cilantro — are also the two most likely to sulk by a January window.
Chives, mint, parsley, thyme, oregano, sage and lemon balm all cope with indoor life given decent light. Rosemary can work too, on the sunniest sill you have, in gritty compost that drains fast.
Basil, cilantro and dill grow fast, bolt quickly and resent short days. Start them in March, or buy a pot in May and enjoy them through summer rather than fighting them in December.
For most of these, buy small plants rather than seed. Seed is worth it for basil in spring, and for chives, though parsley can take three weeks to germinate and will test your patience.
Measure before you buy. Depth matters most: six inches minimum, eight is better, because shallow compost dries out twice as fast. Drainage holes are non-negotiable — more indoor herbs drown than dry out. A saucer underneath protects the paintwork.
Weight is the thing people forget. Soaked compost is heavy, and a two-foot box can weigh as much as a full watering can. Two smaller boxes are easier to lift, turn and replant than one long one, and they fit awkward sills better.
Glazed ceramic and plastic hold moisture longest. Unglazed terracotta looks lovely and dries out fast in a warm window, which means watering twice as often. If you use a wooden or wicker trough, line it with plastic and punch a few holes in the base.
Most culinary herbs want six hours of direct sun. A south-facing sill gives you that from spring to early autumn. East is workable, west is warm but weaker in the morning, and north will not support herbs without help.
Rotate the box a quarter turn every few days, or the plants will lean into the glass and grow lopsided. In winter, daylight through glass is thin and brief, and a simple LED grow light makes an enormous difference: twelve to fourteen hours a day on a timer, four to six inches above the tops of the plants, raised as they grow.
Watch the microclimate too. A box sitting directly above a radiator dries out in a day; one in a draughty gap by an old sash window gets chilled. Move it a few inches and both problems ease.
Overwatering kills more windowsill herbs than neglect. Roots need air as well as moisture. Check the top inch of compost with your finger and water only when it feels dry. Then water properly — until it runs into the saucer — and empty the saucer half an hour later. Lifting the box tells you a lot: a light box is a thirsty one.
From November to February, growth slows and plants use a fraction of the water they drank in June. Let them dry out more between waterings, and skip the feed altogether, or use half-strength liquid feed once a month at most.
Learn to read the leaves:
Harvesting is pruning, and a herb that is never cut goes woody and stops producing. Pinch or snip stems just above a pair of leaves; that tells the plant to branch. Take no more than a third of the plant at once. Cut chives in whole clumps to an inch above the compost and they will regrow within a few weeks. Take parsley's outer stems from the base and leave the crown intact. Pinch off flower buds on mint, basil and lemon balm as soon as you see them — once a herb flowers, the leaves turn bitter and the plant puts its energy into seed.
Choose a day and keep to it. Water what needs water. Turn the boxes. Pinch out flower buds and any yellowing leaves. Check the saucer. Feel the surface of the compost for the crust that means it has dried too hard. Once a month, top up the compost level and, through the growing season, give a weak liquid feed.
If a plant gives up, don't nurse it for weeks. A dying rosemary will not improve, and it will shade the healthy herbs beside it. Clear the gap, drop in something new, and keep the box working. The reward is small and constant: a handful of leaves exactly when you need them.
Photo: Mạnh Hùng / Pexels
Spot genuine antique cottage furniture by reading the wood, joinery, patina, hardware and price — and learn the...
Two pantry-friendly methods — stovetop simmer pots and homemade linen sprays — fill a cottage with warm bakery...

Limewash and chalk paint both give cottages a soft matte look, but they behave very differently on plaster, brick...

Cozy cottage living, decorating, and inspiration.
